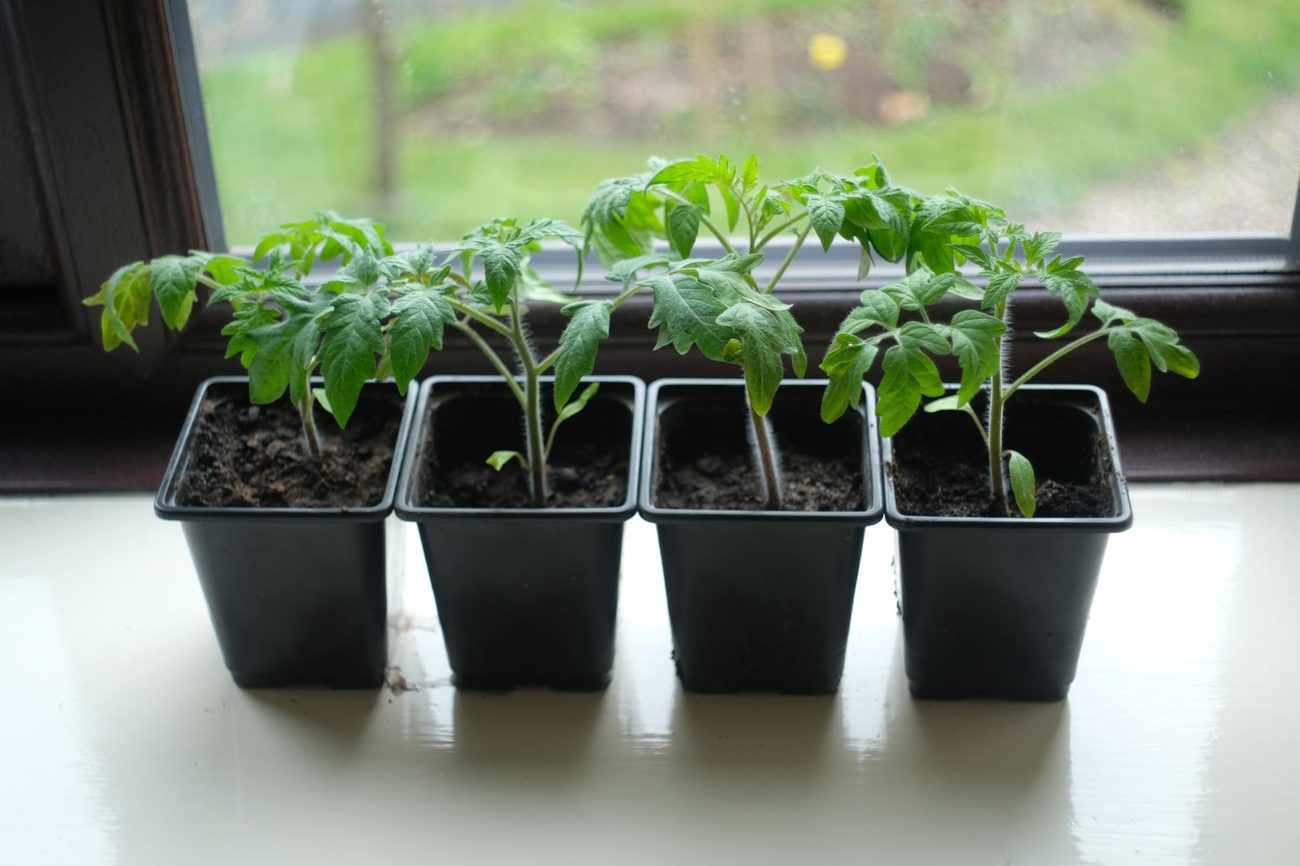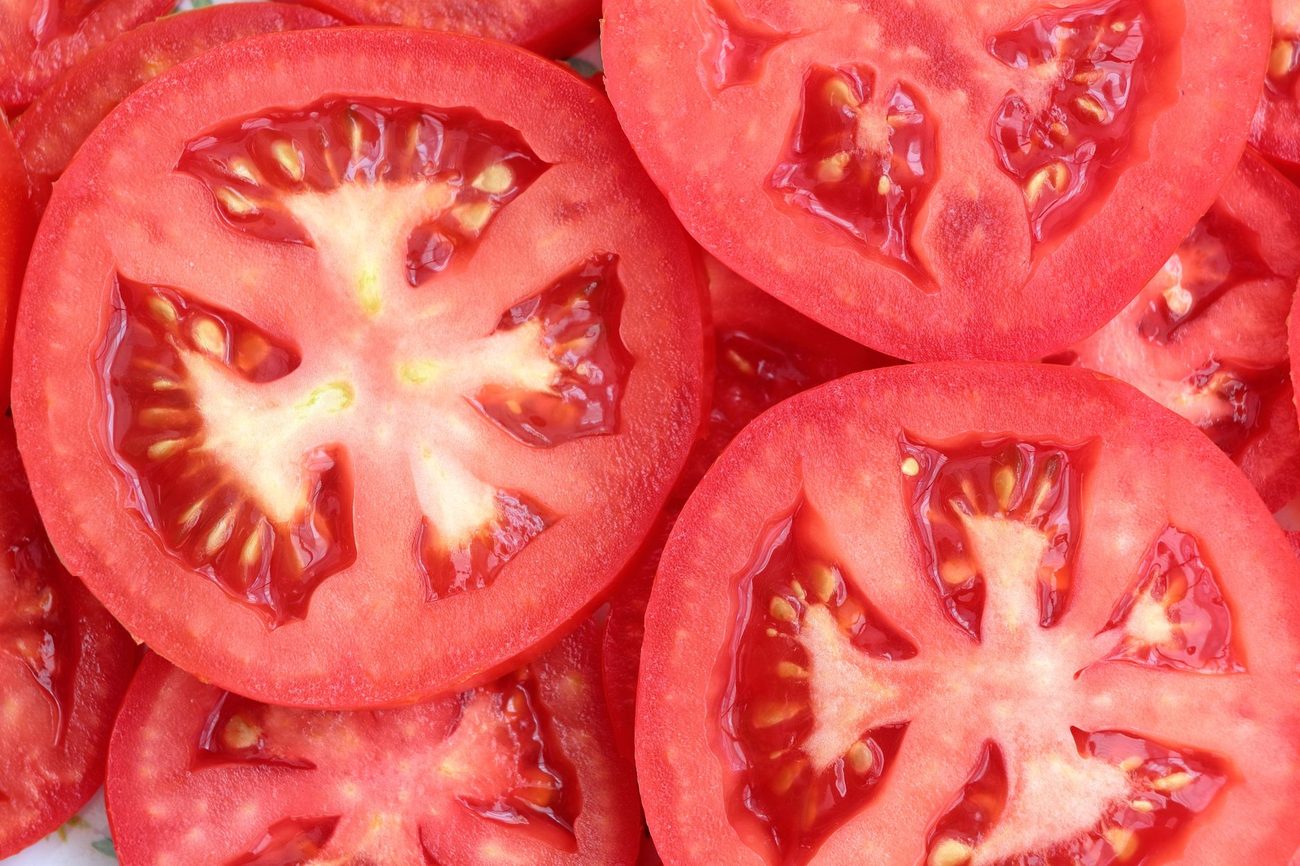
Owen came in from the garden last week holding a split Cherokee Purple tomato and asked, very seriously, whether "the slimy seeds" could grow a whole new plant. I told him yes, and that we were going to prove it. So now there's a jar of fermenting tomato goop on top of my fridge, a paper grocery bag of bean pods drying in the garage, and an eight-year-old who checks on both every morning like they're pets.
I started saving seeds three summers ago, mostly because I winced every spring at the seed rack. Last year I spent $38 on seed packets. This spring it was $19, and most of what I did buy was stuff I can't save easily, like carrots and onions. It's not a fortune, but it's free and the kids love it.
First, check what you're saving
This is the part I learned the hard way. Seeds only "come true" (grow into the same plant) if the parent was an open-pollinated or heirloom variety. Hybrids, which are often labeled F1 on the packet, will grow something, but it may not look or taste like the tomato you loved. My first year I carefully saved seeds from a hybrid slicer and got a patch of small, mealy, pale fruit the next summer.
Tomatoes and beans are the easiest place to start because both mostly pollinate themselves, so you don't need to worry much about them crossing with the neighbor's plants. Squash and cucumbers are a different story, and I leave those alone.
Tomatoes: the fermenting jar method
Tomato seeds sit in a gel coating that keeps them from sprouting inside the fruit. Fermenting breaks that down. It smells a little, so pick a spot that isn't next to the fruit bowl.
- Pick the best fruit. Choose a fully ripe tomato from your healthiest plant. I save from two or three fruits per variety.
- Scoop the seeds. Cut the tomato around its middle and squeeze the seeds and gel into a small jar. Eat the rest.
- Add water. About the same amount of water as seed goop. Label the jar with the variety. I use masking tape.
- Wait three to five days. Stir once a day. A white or gray film forms on top. It looks awful. That's normal.
- Rinse. Add more water and stir. The good seeds sink; the pulp and duds float. Pour off the top, repeat a few times, then dump the clean seeds into a fine strainer.
- Dry on a plate. Spread them on a ceramic plate or a coffee filter and leave them somewhere airy for a week or two. Stir them around every day or two so they don't clump.
A note on paper towels: I used them the first year and the seeds glued themselves on for good. Some people just plant the towel in pieces, which works, but a plate is far less annoying.
Beans: the easiest seed you'll ever save
Beans practically do it for you. The trick is simply to stop picking a few plants and let the pods go all the way.
- Leave the pods on the vine until they turn tan and papery and you can hear the beans rattle inside. For our pole beans that's usually late August into September.
- If rain is coming and the pods are mostly dry, pull the whole plant and hang it upside down in the garage. That's what's happening in our garage right now.
- Shell them once the pods crack easily. This is a perfect job for a four-year-old. Rosie shelled about a cup and a half last Saturday and only ate one raw bean, which she did not enjoy.
- Dry another week spread on a sheet pan. A properly dry bean shatters under a hammer instead of squishing.
- Freeze for 48 hours before storing. Bean weevils can hide inside and hatch in the jar over winter, and a couple of days in the freezer takes care of them.
Storing everything until spring
Moisture and heat are what ruin saved seed. I put each variety in a small paper envelope (the kids decorate them), write the name and year on the front, and keep all the envelopes in a big glass jar in the basement, which stays cool and fairly dry. A little packet of rice in the bottom helps soak up dampness. Tomato seeds kept like this have sprouted fine for me after three years. Beans do best within two or three.
In March I do a quick check: ten seeds rolled up in a damp paper towel inside a zip bag, set on top of the fridge. If seven or eight sprout in a week, I know the batch is good. If not, I sow thicker.
What I'm saving this year
Cherokee Purple and a little yellow pear cherry tomato from my sister's garden, plus Kentucky Wonder pole beans and a bush bean Ella picked out two years ago that she refuses to let me stop growing.
If you've never tried it, start with one bean plant. Just stop picking it, walk away, and let it finish. It's the most low-effort garden project I know, and next spring you'll get to plant something that grew right in your own yard.